
Best Budget-Friendly Smart Home Devices for Beginners 2026
Table of Contents
- Quick Comparison: Best Budget Smart Home Devices for 2026
- Smart Home Starter Kit for Beginners: What to Buy First
- Budget Smart Lighting and Plugs That Actually Work
- How to Set Up a Smart Home Ecosystem Without the Headache
- Smart Home Automation Best Practices for Small Spaces
- Budget-Friendly Security and Energy Monitoring Devices
- Maintenance, Firmware Updates, and Offline-First Setups
- Conclusion: Your 2026 Smart Home Roadmap
- Frequently Asked Questions
Last Updated: September 11, 2026
Quick Comparison: Best Budget Smart Home Devices for 2026
The best budget-friendly smart home devices for beginners 2026 solve one problem well without locking you into a subscription or dead-end ecosystem. This Modern Goods Living guide covers what to buy first, what to skip, and how to keep it running.
Start with three devices and one app: lighting, power, and monitoring for under $150 total. It teaches you how your WiFi behaves before you commit to more.
What makes 2026 different is that budget hardware has caught up on the basics. You no longer pay a premium for reliable scheduling, voice control, or remote access. According to the Connectivity Standards Alliance on Matter, the Matter standard now lets devices from different manufacturers work inside one app, removing the biggest reason beginners used to return their first purchase.
| Device | Price | Connects Via | Best For |
|---|---|---|---|
| Smart RGB Music Ceiling Light | $46.99 | Bluetooth, app | Lighting + audio in one fixture |
| Smart Dual-Lens WiFi Security Camera | $26.59 | WiFi, app | First security camera |
| WiFi Temperature Humidity Monitor | $59.99 | WiFi 2.4GHz, RF433 | Climate monitoring, automations |
| Wireless Video Doorbell | $49.99 | WiFi, app | Front door visibility |
| Window Security Camera 1080 | $37.69 | WiFi, adhesive mount | Renters, no-drill installs |
Smart Home Starter Kit for Beginners: What to Buy First
A smart home starter kit for beginners works best hub-free: a smart light, a smart plug, and one camera in a single app.

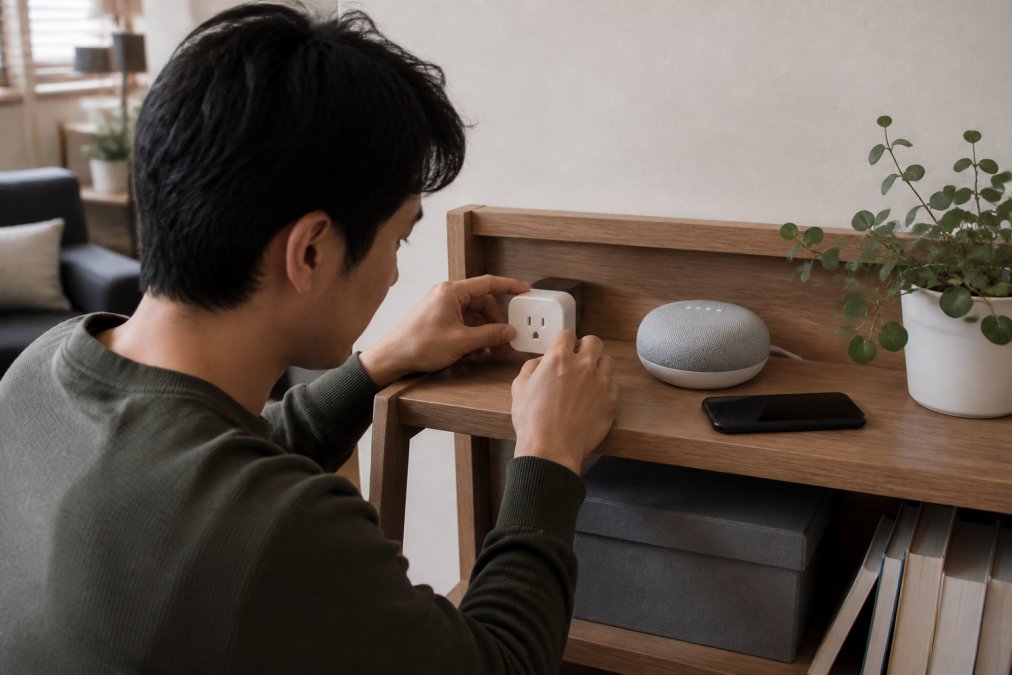
Order matters more than brand. Lighting first: fastest win, easiest to undo. Power second: a smart plug turns any lamp, fan, or coffee maker into a scheduled device cheaply. Monitoring third, once you know your WiFi reaches the corners you care about.
Most beginners skip to cameras and doorbells, then find their router cannot hold a stable connection at the far end of the apartment. Fix the network first.
A common mistake is buying five devices from five apps. Every app adds a login, notifications, and a firmware update cycle. Keep your app count to two at most.
Budget Smart Lighting and Plugs That Actually Work
Budget smart lighting and plugs work reliably on WiFi 2.4GHz or Bluetooth, avoiding proprietary bridges. The Smart RGB Music LED Ceiling Light from Modern Goods Living combines primary illumination, mood lighting, and a Bluetooth speaker in one 36W fixture controlled from a smartphone app.
That consolidation matters in a small space: one ceiling fixture replaces a bulb, speaker, and lamp, covering up to 25 square meters. Music Sync pulses the RGB spectrum with audio, and the app handles dimming, color, and schedules.
For plugs, get one that reports energy use. A plug without monitoring is just a timer; with it, you learn what your space heater actually costs to run.
| Feature | Why It Matters | What to Avoid |
|---|---|---|
| 2.4GHz WiFi | Reaches further, works with most routers | 5GHz-only devices |
| Local schedule memory | Works if internet drops | Cloud-only scheduling |
| Energy reporting | Shows real running cost | Plugs with no monitoring |
| App + voice control | Two ways to control | App-only, no voice support |
How to Set Up a Smart Home Ecosystem Without the Headache
Setting up a smart home ecosystem takes about 90 minutes for a first three-device setup, mostly on WiFi and platform decisions, not hardware.
Step 1: Pick your platform before you pick your products
The biggest beginner mistake is buying devices first and choosing a platform second. Your platform is the app that controls everything and determines what you can add later. Three paths exist for a budget setup:
| Platform path | What it means | Best for | Trade-off |
|---|---|---|---|
| Single-brand app | All devices from one manufacturer, one app | Beginners who want zero friction | You are locked in; adding another brand means another app |
| Matter + one app | Devices carry the Matter logo and join one controller app | Beginners who want to mix brands later | Budget Matter devices are still limited in some categories |
| Multi-app | One app per brand, no unifying layer | People who already own mismatched devices | More logins, more notifications, more update cycles |
Matter is the interoperability standard backed by the Connectivity Standards Alliance. A device with the Matter logo can be commissioned into any Matter-compatible controller app, so you are not stranded if you switch phone brands or apps later. For a 2026 budget build, prioritizing Matter where the category supports it is the lowest-regret choice.
Step 2: Map your WiFi coverage
Walk your space with your phone and note where signal drops; most connectivity problems start here, not with the device. Budget devices are almost always 2.4GHz-only, which reaches further through walls than 5GHz but carries less bandwidth, fine for lights, plugs, and sensors, but not for a camera streaming 1080p.
Step 3: Separate your bands
If your router broadcasts one combined name for 2.4GHz and 5GHz, budget devices often fail to join. Give the 2.4GHz band its own name in router settings and connect smart devices to it, resolving a large share of "device won't connect" complaints.
Step 4: Install in bandwidth order
Lighting first, then plugs, then cameras. Cameras demand the most bandwidth and stability, so they go last, once you know the network holds.
Step 5: Name devices by room, not model number
"Bedroom lamp" beats "Device_04" when you build automations later. Most apps let you rename after pairing, and the name carries into voice routines.
Step 6: Build one automation per device before adding more hardware
A lamp that turns on at sunset is a complete project. Resist a fourth device until the first three each do something on their own, so you learn what your household actually wants automated.
Step 7: Test a full power cycle
Unplug the router for 30 seconds and confirm everything reconnects on its own. Devices needing manual re-pairing after a power blip will do the same during a storm.
Expected result: all devices visible in their apps, one working automation per device, and a clear picture of which corners of your home have weak signal.
The FCC guide to home WiFi interference is worth reading if devices keep dropping offline, since microwaves, cordless phones, and thick walls cause more failures than faulty hardware.
Smart Home Automation Best Practices for Small Spaces
Smart home automation best practices for small spaces come down to three rules: automate routines you already have, keep local control where possible, and never automate a lock or camera without a manual override.
In an apartment, automations earn their keep by removing small daily decisions: lights that fade on before your alarm, a plug that cuts the coffee maker after 20 minutes, a humidity reading that triggers a fan. Each saves seconds, but the compounding effect makes a smart home feel worth the money.
The Smart Fingerprint Door Lock for Wooden Doors illustrates the override principle: four unlock methods (fingerprint, password, access card, mechanical key). The mechanical key is the point, any automation that can lock you out needs a physical fallback.
Budget-Friendly Security and Energy Monitoring Devices
Budget security and energy monitoring devices deliver the most value when they cover entry points and climate in one pass. The Wireless Video Doorbell from Modern Goods Living covers the front door with 1080P HD video, night vision, and AI human shape detection that filters out passing cars and trees.
The Smart Dual-Lens WiFi Security Camera uses two lenses to cover more of a room than one, meaning fewer blind spots in an entryway, nursery, or home office. It includes two-way audio and motion alerts, and at $26.59 it is the cheapest way to test whether you actually use a camera.

For renters, the Window Security Camera 1080 installs with an adhesive mount and no drilling. That single detail decides the purchase for anyone whose lease prohibits wall damage.
Energy monitoring is the category beginners underrate. A smart plug that reports consumption turns an abstract utility bill into per-appliance numbers. Pair it with the WiFi Temperature Humidity Monitor (±0.6°C, ±6% RH, up to 10 sub-devices on one host) to automate a dehumidifier or fan on real conditions rather than guesswork.
| Goal | Device | Price | Why It Fits |
|---|---|---|---|
| Front door visibility | Wireless Video Doorbell | $49.99 | Human detection cuts false alerts |
| Room coverage | Dual-Lens Security Camera | $26.59 | Two lenses, fewer blind spots |
| Rental-friendly | Window Security Camera 1080 | $37.69 | Adhesive mount, no drilling |
| Climate automation | Temp & Humidity Monitor | $59.99 | Alerts and Alexa/Google voice queries |
Maintenance, Firmware Updates, and Offline-First Setups
Maintenance is the part of a smart home nobody plans for, and where two underserved beginner questions live: how to install without damaging a rental, and whether these devices actually save money.
Renter-friendly installation: no drilling, no deposit lost
If you rent, the installation method decides the purchase more than the spec sheet does. Three approaches work without touching the walls:
- Adhesive mounts. Cameras and sensors with 3M-style backing stick to window glass, tile, or painted trim and remove with dental floss and rubbing alcohol. This is the method the Window Security Camera 1080 uses, making it the default pick for anyone whose lease prohibits wall damage.
- Plug-in placement. Smart plugs, plug-in cameras, and plug-in sensors need no mounting. A plug-in camera on a bookshelf covers a room as well as a wall-mounted one in most apartments.
- Lamp and fixture swaps. A smart bulb or a ceiling fixture that replaces an existing one is reversible in minutes. Keep the original bulb or fixture in a closet so you can restore the unit at move-out.
What to avoid as a renter: anything requiring a wired doorbell replacement, in-wall switches, or drilling into brick or plaster. Those are the installs that turn a $30 device into a repair bill.
Energy monitoring: does the setup pay for itself?
This question determines whether a budget smart home is a hobby or an investment. A smart plug with energy reporting turns an abstract utility bill into per-appliance numbers; you need two weeks of your own data, not a study.
A practical method:
- Put an energy-monitoring plug on your highest-draw appliance first. Space heaters, window air conditioners, dehumidifiers, and older refrigerators are the usual suspects.
- Let it log for a week. Note the kilowatt-hours and multiply by your local rate from your utility bill.
- Compare that number to alternatives. A space heater running eight hours daily often costs more per month than adjusting a thermostat.
- Automate the fix. A plug that cuts power after a set runtime, or a schedule that limits a dehumidifier to off-peak hours, converts the finding into savings.
Pair an energy plug with the WiFi Temperature Humidity Monitor (±0.6°C, ±6% RH, up to 10 sub-devices on one host) to trigger a fan or dehumidifier on real conditions rather than a timer.

Firmware and app updates: the 90-day rule
Budget hardware earns or loses trust through firmware. Most manufacturers push updates through the app, and skipping them for a year leaves you with a camera that will not connect after a router upgrade. Set a 90-day reminder and update every device at once.
Offline-first: what still works when the internet does not
An offline-first setup keeps working when the internet does not. Devices that store schedules locally still turn lights on during an outage; cloud-only devices will not. Look for local control as a listed capability, and test by disconnecting your router for ten minutes: local-schedule lights and plugs should still fire, cloud-only devices go dark.
A maintenance schedule that works:
- Check each app for firmware updates (every 90 days)
- Reboot the router and confirm all devices reconnect (quarterly)
- Verify automations still trigger after any app update
- Replace batteries in sensors and doorbells (annually, or when alerts slow)
- Review the device list and remove anything you stopped using
- Re-check adhesive mounts before summer heat and winter cold, which loosen the bond
Conclusion: Your 2026 Smart Home Roadmap
Building a smart home on a budget is a sequencing problem, not a spending problem. Start with lighting and a plug, add monitoring once your WiFi proves itself, and treat security as the third step, not the first.
Modern Goods Living curates exactly this kind of practical hardware: a smart ceiling light that replaces two devices, a dual-lens camera at $26.59, and a temperature and humidity monitor that turns climate control into an automation instead of a guess. Every item is chosen to be used rather than shelved.
Get started with Modern Goods Living and build a smart home that stays useful after the novelty wears off.
Frequently Asked Questions
What are the best budget smart home devices for beginners in 2026?
Start with a smart plug, smart lighting, and a video doorbell. The Modern Goods Living Wi-Fi Temperature Humidity Monitor at $59.99 and the Wireless Video Doorbell at $49.99 are solid entry points. These budget smart home devices connect over Wi-Fi, work with Alexa and Google Home, and require no hub, keeping your first setup under $150.
How do I start building a smart home on a budget?
Pick one room and one problem. A smart plug ($15-$25) automates a lamp; a smart bulb adds voice control. Add a budget smart home hub only if you mix protocols. Modern Goods Living's 3-in-1 Wireless Charging Speaker Stand at $25.36 doubles as a nightstand command center, so you get charging, audio, and a phone stand in one purchase.
Are cheap smart home devices secure?
Budget devices are as secure as their setup. Change default passwords, enable two-factor authentication in the app, and keep firmware updated. Look for devices that support WPA2 or WPA3 Wi-Fi encryption. Local control options, like schedules stored on the device, reduce cloud exposure. Avoid unknown brands with no update history.
Which smart home platforms are most beginner-friendly in 2026?
Amazon Alexa and Google Home remain the easiest for voice control and app setup. Both work with the Modern Goods Living Wi-Fi Temperature Humidity Monitor, which supports Tuya Smart, Smart Life, Alexa, and Google Home. If you want local control and privacy, consider platforms that run automations on a hub instead of the cloud.
What is the easiest smart home device to install for beginners?
Smart plugs and Wi-Fi cameras. The Window Security Camera 1080 from Modern Goods Living uses an adhesive mount with no drilling, and the Smart Dual-Lens WiFi Security Camera at $26.59 plugs in and pairs via app in minutes. Both skip wiring and hubs, making them ideal first devices for renters or anyone new to smart home automation.
